CLICK HERE FOR FREE BLOG LAYOUTS, LINK BUTTONS AND MORE! »

Saturday, May 8, 2010

This is the coolest plant I have ever seen


This is by far the coolest plant I have ever seen!
It can be planted outside, preferably in a pot so you can bring it indoors during the cold weather.  It is from the same family as "Chick's and Hens's" which are another favorite of mine.  I bought it at Home Depot for $9.95 which I didn't think was to bad for such a large, unusual plant.  I can not take it outside yet, because today it snowed!! Yup May 8th and it snowed!!

Thank You For all my Birthday Wishes!

Thursday, May 6, 2010

4 spots left for scrapbooking retreat 1hr north of toronto


The Salvation Army Conference Centre, 1890 Metro Rd North, Jackson’s Point

Date: June 4, 5, 6

Arrival Time: 1:00 Friday Check in

Departure Time: 2:00 Sunday Check out

 
Includes:

* Accommodations - Single or Double – Hotel Quality

* Meals in Dining-Room, plus snacks

* Small Thank You Gift from Kelli and Karen

*Free Make’n takes

Monday, May 3, 2010

Mother's Day Card 1 of 3


Well when I got home from work today and my family got home from our friends cottage, I was getting ready to study after dinner, which it my normal routine lately, and the kids and I got talking about the week ahead.  Its my birthday this week, my in-law's anniversary next week, and then it hit me "Mothers Day", it always sneaks up on me, even though it shouldn't it is the same week as my birthday every year, sometimes the same day.  Needless to say, studying went to the way side tonight and I was in my craftroom, for the first time in a couple of weeks, this is the first of three Mothers Day Cards.

The paper is by Creative Memoreis, you can't see it in the picture but the flower pattern is completely glitter!
The stamp is by Stampin' Up!
The pink card stock and Hollyhock ink are Close to My Heart!

Sunday, May 2, 2010

Mother's Day Card 2 of 3


This is a little more embellished version of Card #1

Friday, April 30, 2010

Day 6 "Mucks Pond"


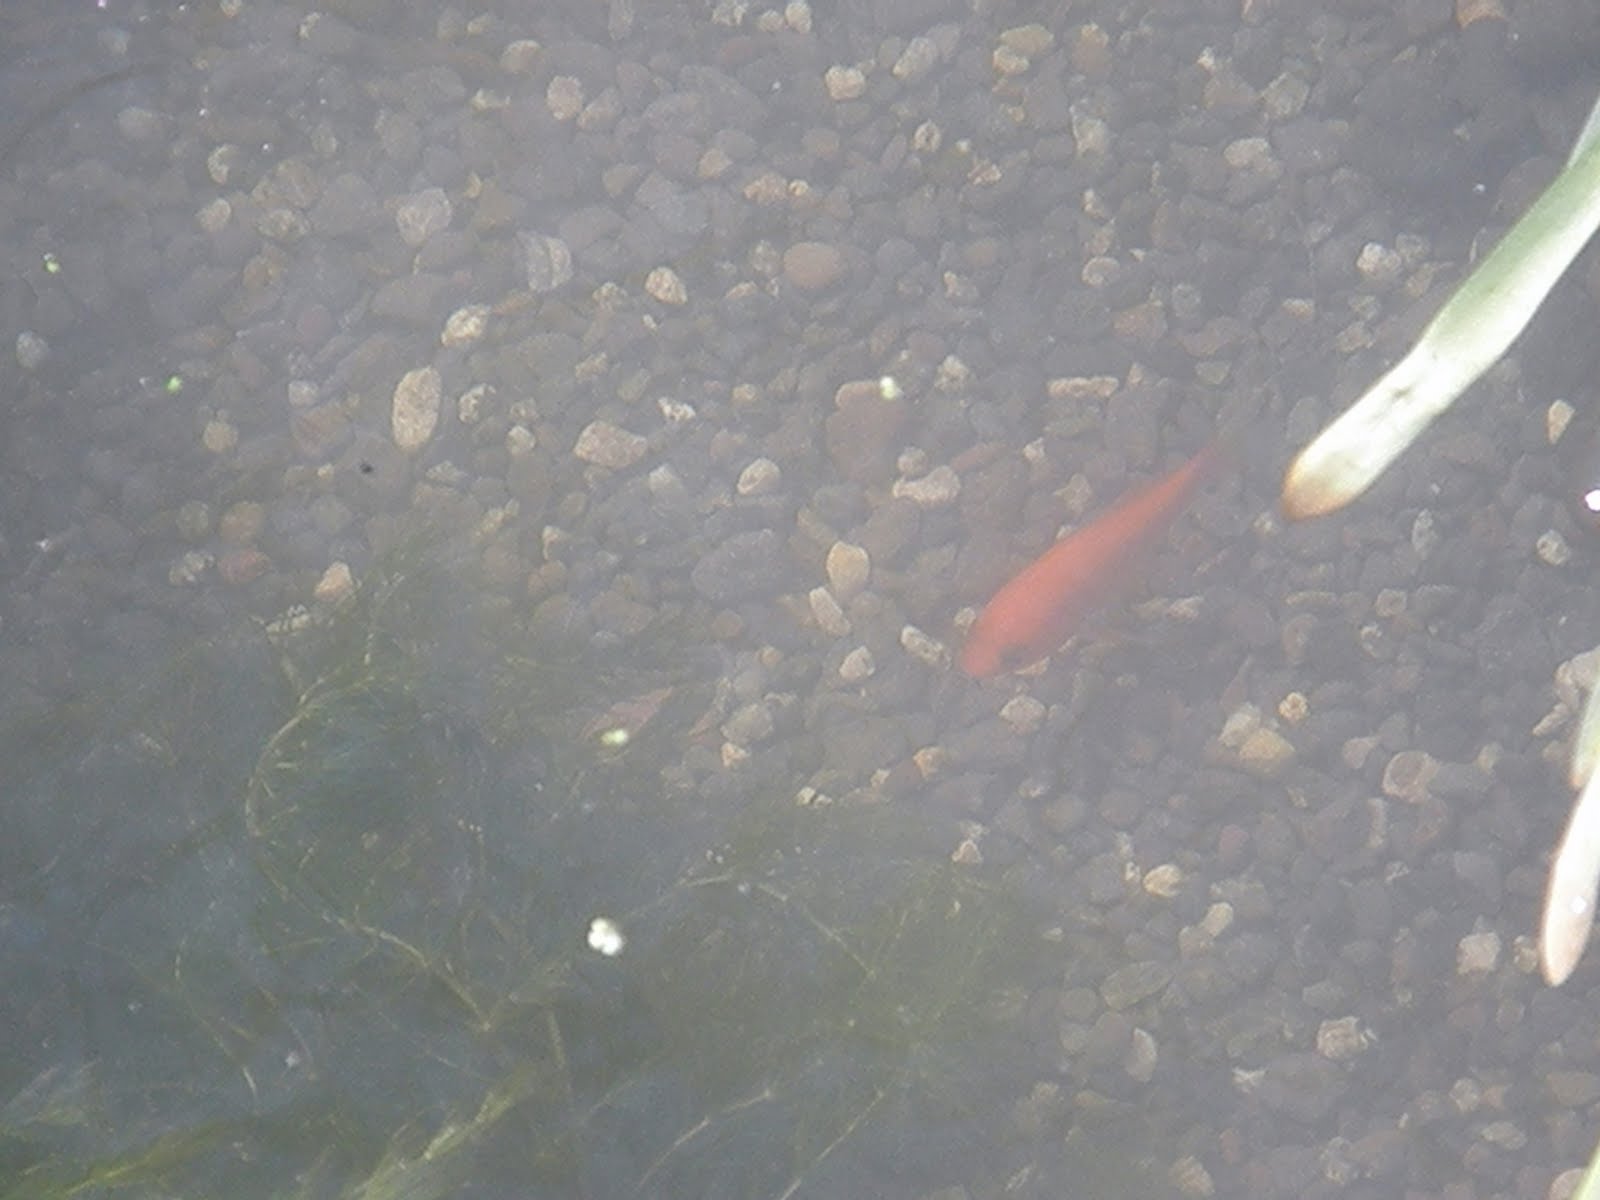
Things are coming very nicely in my Makayla's pond, I went out to feed her fish this moring many of the frog's were out sunning themselves, and only one hopped back in while i feed the fish and went back to the house, got the camera, and took photo's of them.  This afternoon I planted lillies in pots to put in the water, I actually had to scoot them out of the way so I didn't hurt them, I had to drop a big rock in the water to set the pot on.

Thursday, April 29, 2010

Scrapbooking Getaway 1 hr from Toronto


Date: June 4, 5, 6

Arrival Time: 1:00 Thursday Check in

Departure Time: 2:00 Sunday Check out

Includes:

* Accommodations - Single or Double – Hotel Quality

* Meals in Dining-Room, plus snacks

* Small Thank You Gift from Kelli and Karen

*Free Make’n takes

2 NIGHTS DOUBLE $200

2 NIGHTS SINGLE $235

add $10 if you wish to come Friay morning and join us for lunch.

Tuesday, April 27, 2010

Flower Tutorial #1 - Paper Peony


Peonies are beautiful full flowers that start as tight balls, which are opened with the help of ants and other insects in your garden, and open into stunning soft flowers.


You need three scalloped circles (size depends on you size preferance-the larger the circle the larger the flower) and one strip of paper scalloped at the top.


punch or free hand cut your scalloped circles (3)
at this point if you wish you can sponge colour onto your flower


Cut inwards between each petal


take a rounded tool, I just used a kitchen spoon and start at the outside of the petal (laying on a soft work matt or a mouse pad) and pull inward, it will round the petal upwards and in toward the centre


take the flower in your hand and squish the petals inward toward the centre and release


use the same technique with your tool or spoon to curl the petals on the streight paper, then petal by petal rool the streight paper to the end.

place one round flower on your work surface, put a drop of your favorite glue  ( mine is liquid glass by Close to My Heart ) in the bottom of the flower, set in your next flower, more glue, your third flower, more glue then your rolled piece.  Again squish your flower together and hold it for a minute.

Then you have a lovely Paper Peony for you next project!


Monday, April 26, 2010

Pond Day Two


Well today is day two of "Muck's Pond"!

It turns out Daddy and I had the same idea, we both went out (seperatly) and bought fish for the pond (mine are bigger!), plus I bought a floating plant that you can see in the water, it apparently just lives like that and will multiply.  Now we have 20 fish and a dozen froggies in the pond! I also learned you can dig up any "iris or "lilly", plant them in chemical free soil, in a pot, and place it in the pond water and it will grow.  So, you guessed it, I am off to dig up  lillies for the pond so I can get rid of the fake furns!!

Sunday, April 25, 2010

Sick Kids Layout #2 - Glamed up!


New Glamed up Layout!

A few posts back is where I origionally posted this layout, minus the rinestone swirls.  I am not a believer in going back and changing layouts once they are done, but this one just kept yelling to me,
 "I am not done yet",
so I re-visited it and added some sparkle.  Now it feels finished.


Origional Plain Layout!

Creativity "Outside" - "Muck's Pond"


As most of you "my blogger friends" know, my daughter had an accident (a really badly broken arm).  Her recover period is going to extend over most of the summer leaving her with "Zero" sports options, except swiming.  Down the road from us is a natural pond and stream, my kids spend alot of time there and bring home dozens of frogs (yestereday they had 40, yes I said 40), which for the past few summers have lived in buckets and pails, until I finally order them back to the pond for release. 

Well my husband decided Friday he would build her a pond she could keep her friends in a much nicer enviornment than a pail, we are hoping it will make up for her lack of sports options this summer, and keep her happy and busy.

So Welcome to the beginnings of "Muck's Pond"

My husbands name for her since she was a baby is "Muck"!


This is one of her little friends investigating his new home!


You can see two more of her froggies here, one is hiding under the fake ferns I had to incorporate for now!  They need shade and somewhere to hide, this is the best I could do for now, I plan to get her some water plants and more lillies for the outside, but fake is better than nothing for now.


Monday, April 19, 2010

Sick Kids Layout #2


This layout was done with products all from Close to My Heart!
Felicity Collection paper, twilight ribbon, twinkle brads  and paper flowers.
I used the recipe for glimmer paint using CTMH create-a-shade paint and re-inker mixed with alcohol to spray the word "ouch" the shimmery shade of red.

Sunday, April 18, 2010

Sick Kids Layout #1


I love the modern layouts where one area is very busy, but I just can't leave the card stock blank it feels unfinished.  So I used a cuttlebug embossing folder with my marble rolling pin on my card stock, 12 x12 card stock does not fit in the cuttle but or sizzix (I am still using my old red origional sizzix and it works like a charm with everything!) so I just put my emblossing folder over the paper and roll it with my marble rolling pin!  I have a couple of roses I made from off white satin ribbon, paper/card stock (The Felicity Collection), paper flowers and glitter brads from Close to My Heart and the butter flies are made with a new embossing die by sizzix for Sampin UP.

This is my daugter having her arm assessed by the on Call "Ortho" doctor at our local hospital, before our adventure at Sick Kids Hospital Begins!

Saturday, April 17, 2010

Glimmer spay paint! Techniques and Tips with Close to My Heart Products!


Creat your own Glimmer paint in seconds and for pennies!
Curious, read on!


This glimmer spray paint is super shinny and glittery when light reflects one way on it.
Then you see the rich close to my heart colour when the light reflects another way.
Still curious, read on!


It' very scientific!! Not! Very Simple! Yes!

Mix 50 % Create a Shade Glimmer paint by Close to My Heart
50% alcohol (you can get it at you local $1 store)
and as much Colour Re-inker in your Favorite Close to My Heart Shade
to get your desired colour in a small spary bottle (again your local $1 store)
shake it up really well and you get a fabulous glimmer spay paint
that you can use for many different projects!

Simple, Cheap, Beautiful!

Kelli & Karen's Scrapbooking Club and help you with all of your
Close to My Heart needs, just email kelli_ctmh@rogers.com
to play an order for your Create a shade paint and re-inkers.

Friday, April 16, 2010

Close to My Heart Colour Tracking Chart

I hope you find this chart helpful in tracking you personal supplies.
If you would like a excell version please email me as I am not sure how to post it here in excell.

enjoy

Thursday, April 15, 2010

Thanks for your patients!

Dear blogger friends,

Thank you for your patients with my "lack of posts".  Since my daughters hospitalization I have not had the time or focus for my "paper crafting life".  You don't realize how much your children do for themselves and around the house until they can't do it anymore.  Like: dress themselves, cut their meet, poor their drinks, do up seatbelts.......helping with unloading the dryer or dishwasher.....WOW, its like stepping back in time.

She is definatly improving everyday, her cast (cast #3) as been removed and the and the rods have been removed from her elbow and arm.  She has hardly any range of movement in the elbow but it should improve everyday.

Her arm and elbow are super sensitive and we have to be sure it does not get banged, or reinjured.  That means this no gym, no sports, no 4-wheeler, no bike, no anything for 3+ months.....can you say board child.

Anyway, I have not forgotten my blogging frineds, I am just needed more than ever!  I will postg when I can!

Huggs!

Monday, April 5, 2010

Gifts


These are gift bag's make up for the coach and trainer on Camerons Team.


These are gift bag's for my god daughters.

Sunday, April 4, 2010

Saturday, April 3, 2010

Friday, April 2, 2010

Wednesday, March 31, 2010

Mug #5


I did this mug with a "Magnolia Stamp".
I was introduced to this stamp line by my dear friend Christine and every time I look at a "Magnolia" image I think of her.

Tuesday, March 30, 2010

Coaches Gift #2 - mug #4


We have a lady trainer on my sons team, she is a wonderful person and great with the kids.  This mug is for her, a little thank you!

Monday, March 29, 2010

Coaches Gift -mug #3


This is a mug made by stamping with stazon and colouring on tissue paper!
You adhear the image with a European product called "Porzellan Potch", This is one of my new Favorite products, but you can only get in and around Europe.

I hope my son likes it, I am still working on my technique to get it right.

Sunday, March 28, 2010

Kevins Birthday Card


It was our dear friend Kevins Birthday yesterday!

Happy Birthday Kev, we enjoyed seeing everyone last night at the Keg!

Feeling better everyday


Thank you to everyone for your get well wishes, Makayla is feeling a bit better everyday she goes back to sick kids for a checkup in three weeks and is going to school on Monday!