Pop on over to Lasting Memories Challenge Blog this week, its all about the flip flap!
Saturday, October 2, 2010
Wednesday, September 29, 2010
Tuesday, September 28, 2010
Monday, September 27, 2010
Techniques for using chip board
Hi all! Kelli here with a tutorial which is all about chipboard! Here we go!!
MATERIALS NEEDED:
1. Adhesive sheets (a retired product from CTMH that I purchased sooooooo many packages of when the retired) or any adhesive of your choice.
2. Dimensional Elements from CTMH, otherwise known as Chipboard! In letters and shapes.
3. Finishing Files by CTMH were the perfect tool to finish the edges of my letters. You can use your
favorite sanding tools!
TRY IT YOURSELF!
* Trace your letter or shape onto your adhesive sheet
* Trace your letter face down onto the "wrong" side of the paper you're using to cover your chipboard
* Adhere the adhesive sheet to the chipboard
* Adhere the paper to the chipboard
* Use your finishing tools to file off the excess paper around the edges of the chipboard
If you are not using adhesive sheets, use the same tracing method directly onto your paper and follow the remaining steps adhering your paper to the chip board with an adhesive of your choice.
Co-ordinating 3D letters for you Project is easy and fun!
This glimmer spray paint is super shinny and glittery when light reflects one way on it.
Mix 50 % Create a Shade Glimmer paint by Close to My Heart and 50% alcohol (you can get it at you local $1 store) Now add as much Colour Re-inker in your Favorite Close to My Heart Shade to get your desired colour in a small spray bottle (again your local $1 store). Shake it up really well and you get a fabulous glimmer spay paint that you can use for many different projects!
Chipboard Covered With Paper
MATERIALS NEEDED:
1. Adhesive sheets (a retired product from CTMH that I purchased sooooooo many packages of when the retired) or any adhesive of your choice.
2. Dimensional Elements from CTMH, otherwise known as Chipboard! In letters and shapes.
3. Finishing Files by CTMH were the perfect tool to finish the edges of my letters. You can use your
favorite sanding tools!
TRY IT YOURSELF!
* Trace your letter or shape onto your adhesive sheet
* Trace your letter face down onto the "wrong" side of the paper you're using to cover your chipboard
* Adhere the adhesive sheet to the chipboard
* Adhere the paper to the chipboard
* Use your finishing tools to file off the excess paper around the edges of the chipboard
If you are not using adhesive sheets, use the same tracing method directly onto your paper and follow the remaining steps adhering your paper to the chip board with an adhesive of your choice.
Co-ordinating 3D letters for you Project is easy and fun!
Chipboard Sprayed With Homemade Glimmer Mist
This glimmer spray paint is super shinny and glittery when light reflects one way on it.
Then you see the rich close to my heart colour when the light reflects another way.It's very scientific!! Not! Very Simple! Yes!
Mix 50 % Create a Shade Glimmer paint by Close to My Heart and 50% alcohol (you can get it at you local $1 store) Now add as much Colour Re-inker in your Favorite Close to My Heart Shade to get your desired colour in a small spray bottle (again your local $1 store). Shake it up really well and you get a fabulous glimmer spay paint that you can use for many different projects!
Simple, Cheap, Beautiful!
Chipboard Sponged with Ink
One of My Chip Board Layouts
Sunday, September 26, 2010
Chip Board Layout for Lasting Memories Layout Challenge Blog
Well over at Lasting Memories Layout Challenge Blog this week, its all about the Chip Board! So, if you enjoy using Chip Board on your layouts as much as I do, you need to put one together and post it over on LMLC Blog, maybe you will be in the top three!
This layout is for a scrapbook I have been commissioned to make in memory of a lovely lady who passed away in June. I am honoured to be trusted with this families memories and over the next few weeks I will share my layouts with you!
Saturday, September 25, 2010
Friday, September 24, 2010
Thursday, September 23, 2010
Tuesday, September 21, 2010
About Eve #1
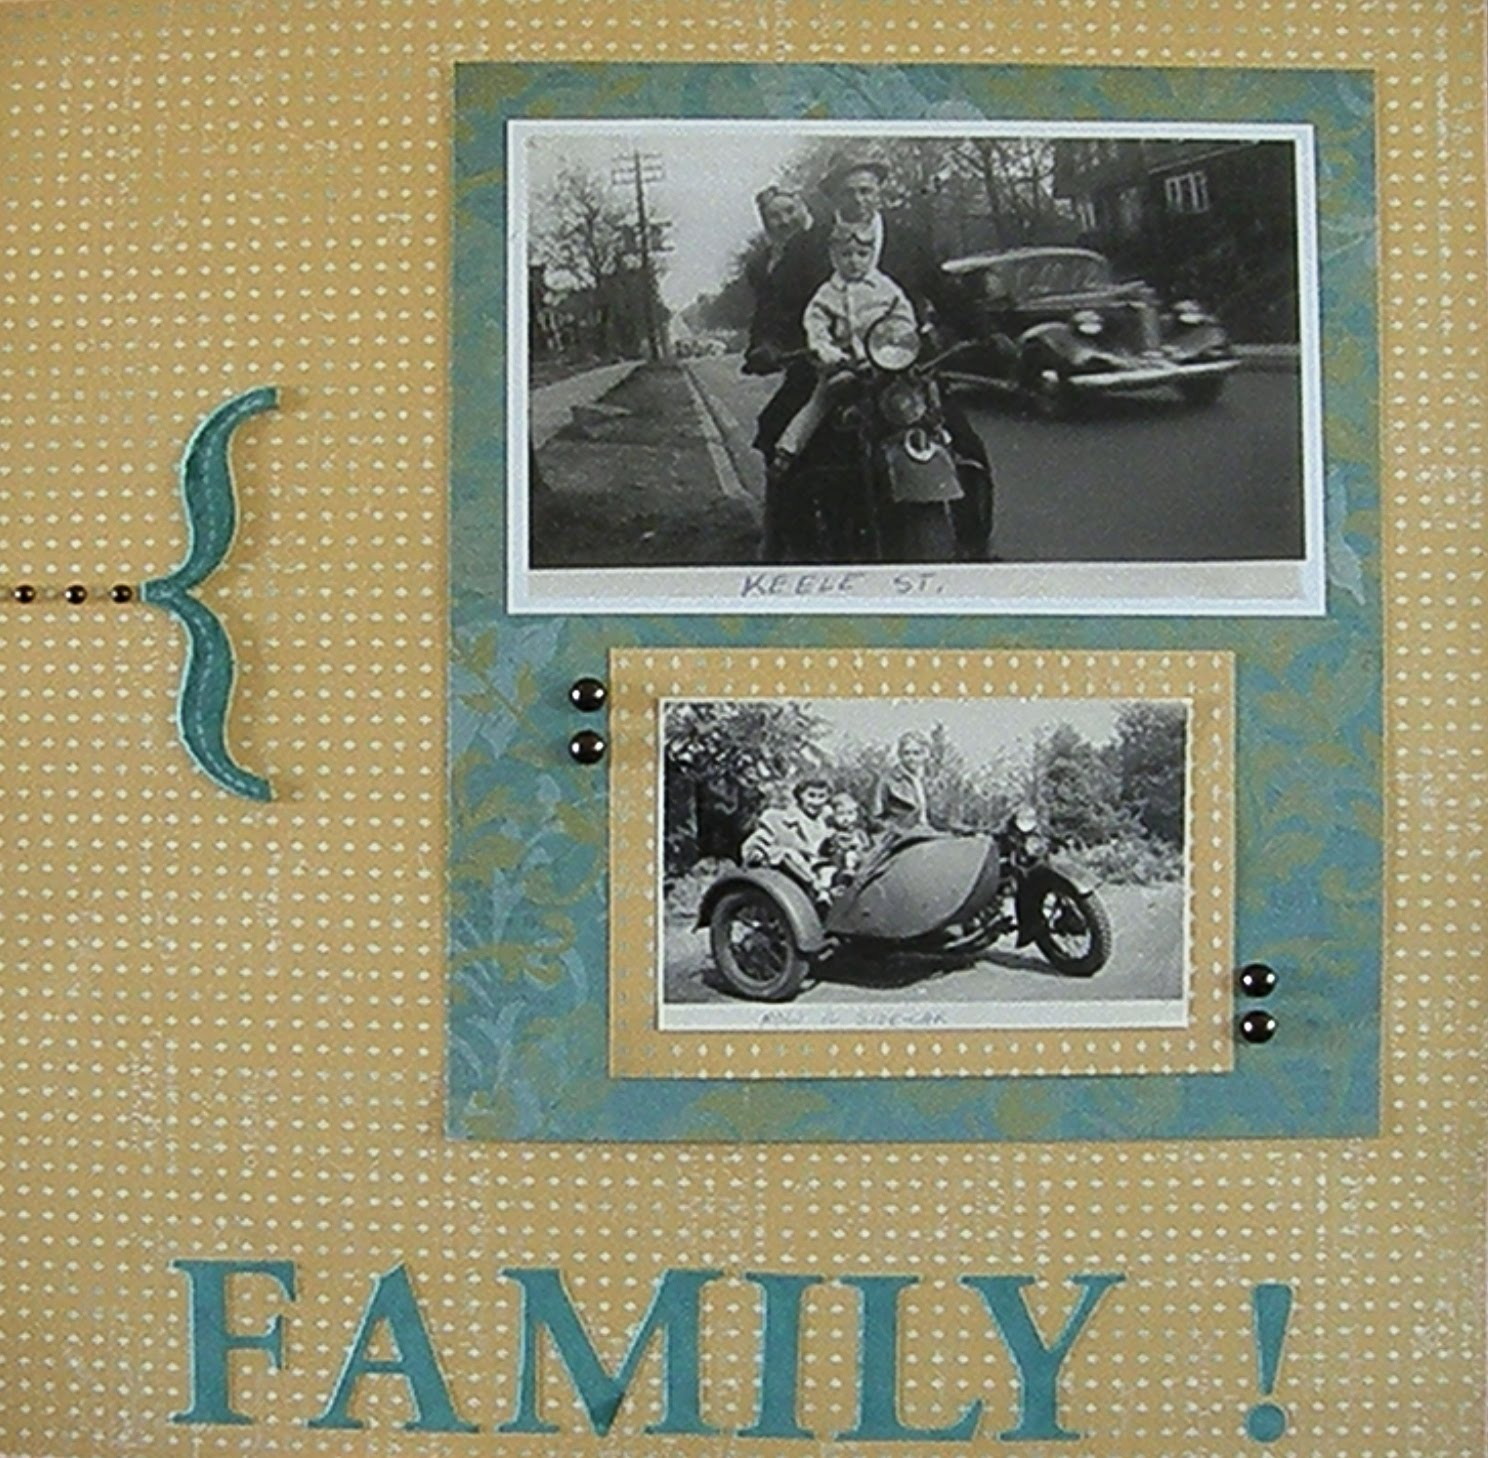
Page one of this scrapbook I am making is about the marriage of Eve and Lloyd in 1941. This entire project is being done with the Close To My Heart Paper Package called "Veranda" X7119B and all the co-ordinating embelishments and inks.
Sunday, September 19, 2010
Circles, Squares or Scalops for Lasting Memories Layout Challenges Blog
This is a layout of my son's senior kindergarten trip to the zoo. It was completed with CTMH products of course: Expedition Paper Pack level 1 & 2, antique hinges/brads and a circle tag. I distressed the autumn terracotta coloured paper around the edges of the large piece for matting and the small circle piece on the tag. I used my x-large circle from Creative Memories to cut the patterned paper and the photos to complete my large circle.
Saturday, September 18, 2010
Monday, September 13, 2010
Sunday, September 12, 2010
Out of the Box - for Lasting Memories Layout Challenge Blog
HI, its Challenge time again over at Lasting Memories Layout Challenge Blog, the theme is "Out of the Box"! This layout is defiantly "Out of the Box" for me! I am using my Favorite Company "Close to My Heart" but its not my favorite paper, I have had it for months and have not thought of anything I wanted to use it for. Also, I usually don't journal (bad I know), especially in hand writing (which I know will be important to my children one day). So for me "Out of the Box" is about what I used to complete my layout and the journaling, I try and do different layout styles all the time so you could say my personal style is always "Out of the Box".
Wednesday, September 1, 2010
Work Shop On the Go
This is my take on the "Mistletoe" Work Shop On The Go" in the new Close To My Heart catalogue.
The kit contains: Mistletoe Workshop Kit (includes):
Mistletoe Level 2 Paper Packet
My Acrylix® All the Best
Mistletoe Level 2 Assortment
Workshop Guide
Everything you need to complete a 2 page layout and 6 cards (2 each of 3 styles)!
Starting during our October Club night, for anyone interested we will be incorporating Work Shops On The Go! Complete the kit on club night, and add you pictures in at home! Couldn't be easier!
Sunday, August 29, 2010
Sentimental Journey - for Lasting Memories Layout Challenge Blog
Pop on over to Lasting Memories Layout Challenge Blog and try out this weeks Challenge. Its a "Sentimental Journey" with a computer generated title and or text.
OK, so what is my layout all about! This is for a book I have been working on for myself. It is of me at 3 years old with my brother 13 and my sister 14 with "Old St. Nick"! My whole book is done in my all time favorite paper package by Close to My Heart "Silhouette", which I am sad to say is on their 2011 retiring list, but I am very pleased that I was able to order 6 packages of it today in their big paper pack sale! Yippee! Maybe I should have ordered more.
My layout is made of mostly Close to My Heart products as usual. The base is Black white core card stock distressed, embossed with a cuttlebug folder (and the trusty marble rolling pin), stamped in silver - pocket watches from the stamp set "Wonderful Friend" D1422 by CTMH, and the Bling is added with my new toy the I-rock, it is a tool for adhering Bling to almost anything. The accent paper is of course the Silhouette paper, used to mount my photo and accent the side of the page. My "computer generated title" is 1972, which is the year the photo was taken.
Friday, August 27, 2010
New Close to My Heart Catalogue Releases Sept 1st.
The New CTMH Catalogue has the "Workshops On The Go" in it! Take it from me they are amazing, we are going to work them into our "Club Nights" for Anyone who is interested in doing them. Order you "Work Shop On The Go" kit one club night and we will complete them together the following club night! You get a stamp set, a full level 2 paper pack, workshop guide and embellishments! Great value for you money! Check back on September 1st for my completed Layout!
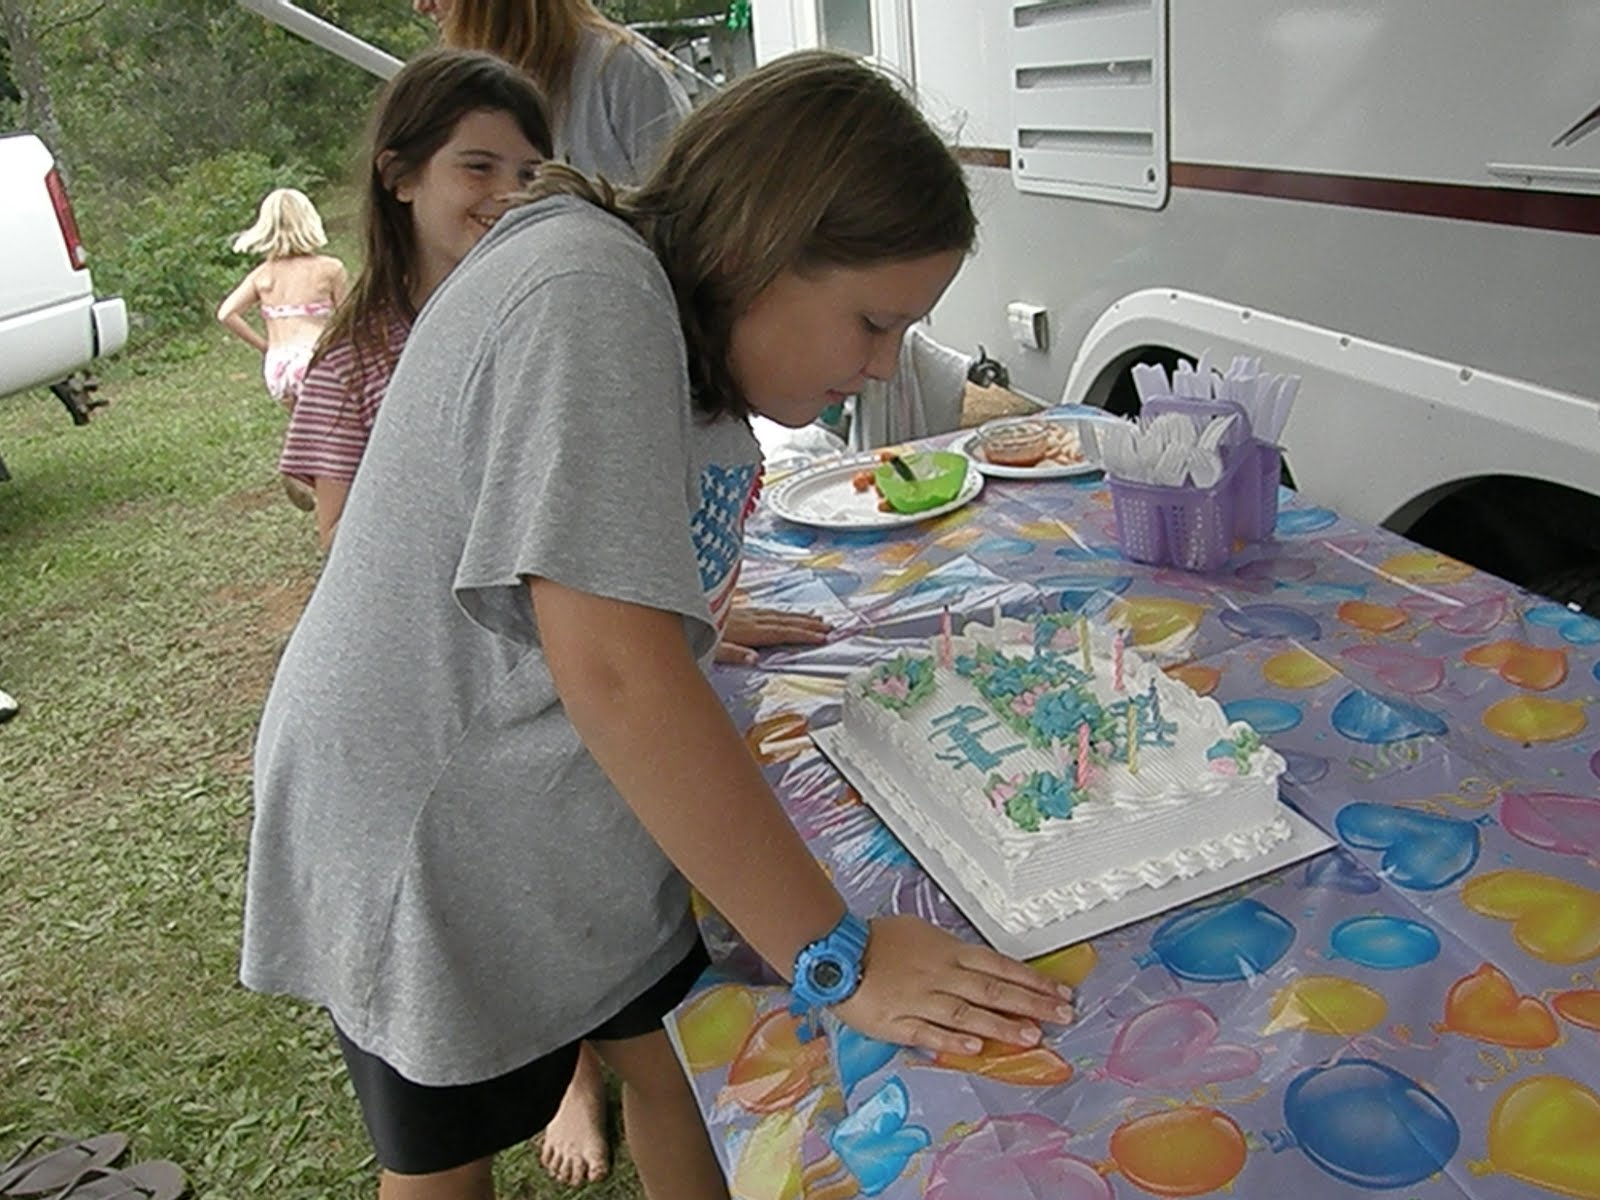
Happy 11th Birthday Makayla
Lovingly Made by Mommy!
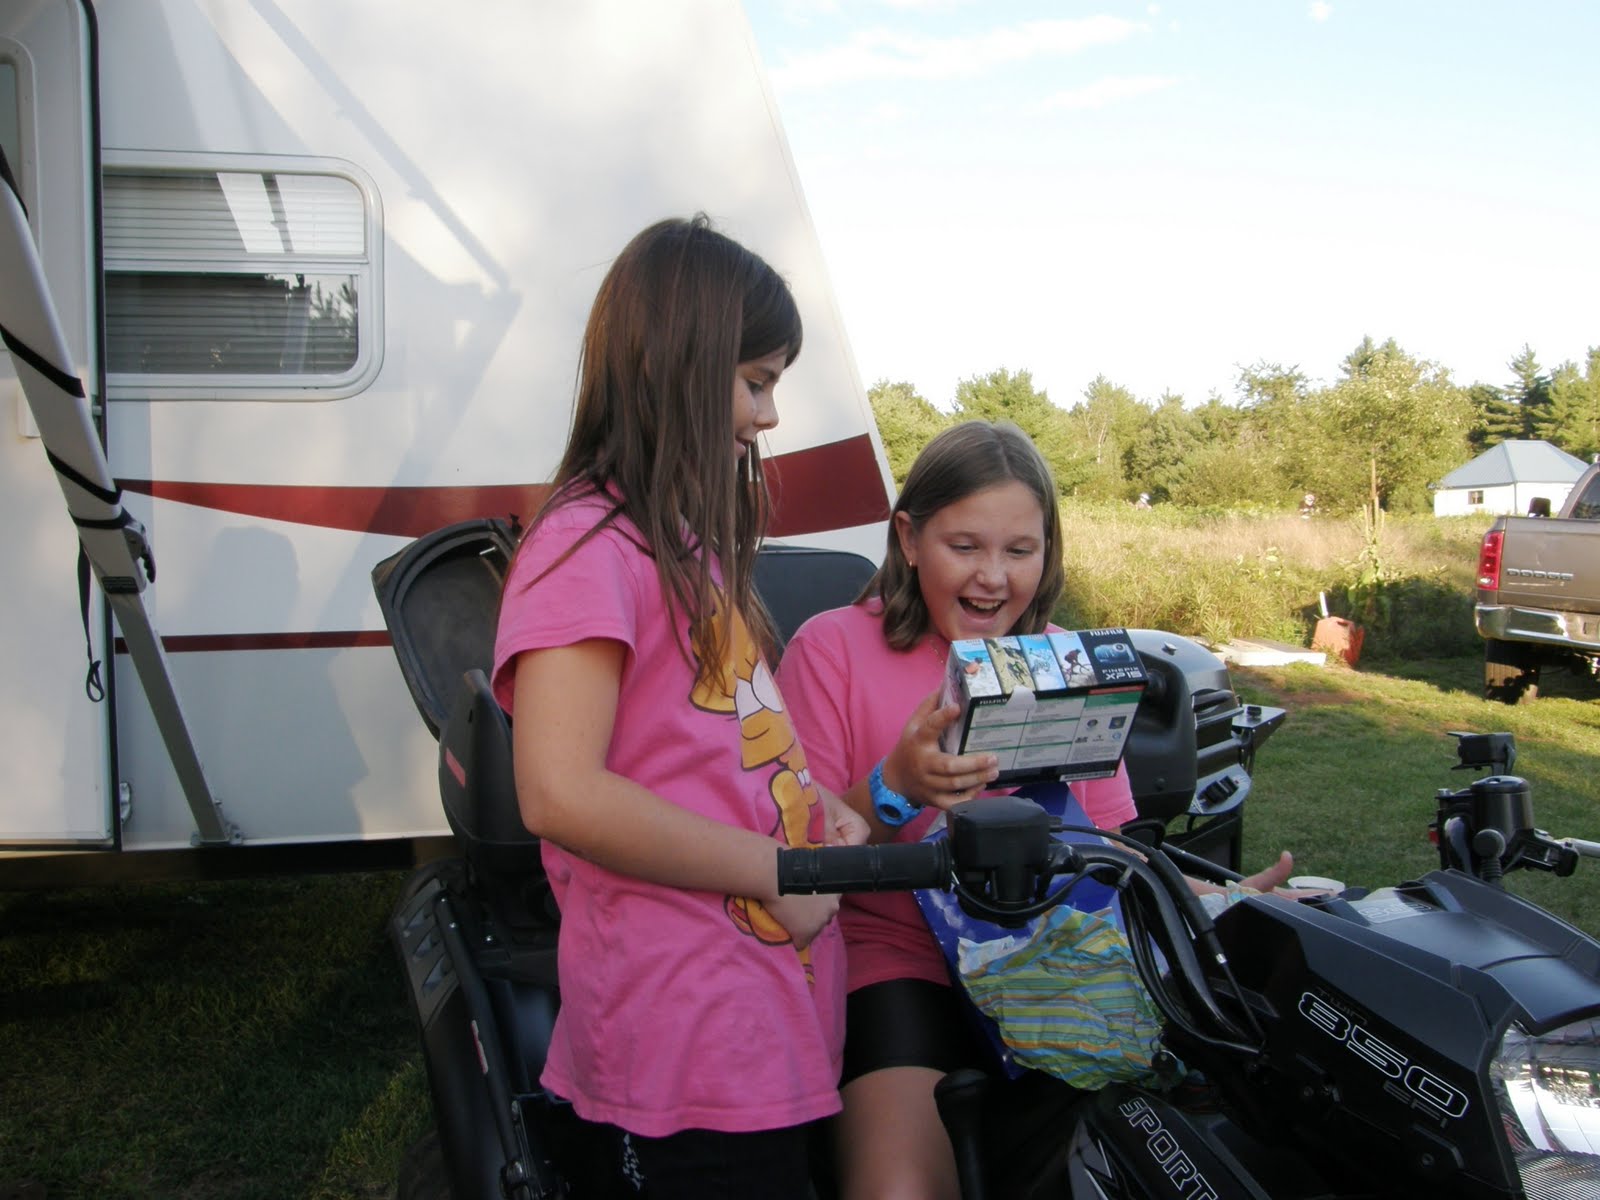
My Makayla had a great 11th birthday on August 21st. We spent 3 days long with 8-9 other familys we are friends with 4-wheeling in Havlock! It was an amazing weekend! Thanks Mark and Jenn!
Subscribe to:
Posts (Atom)